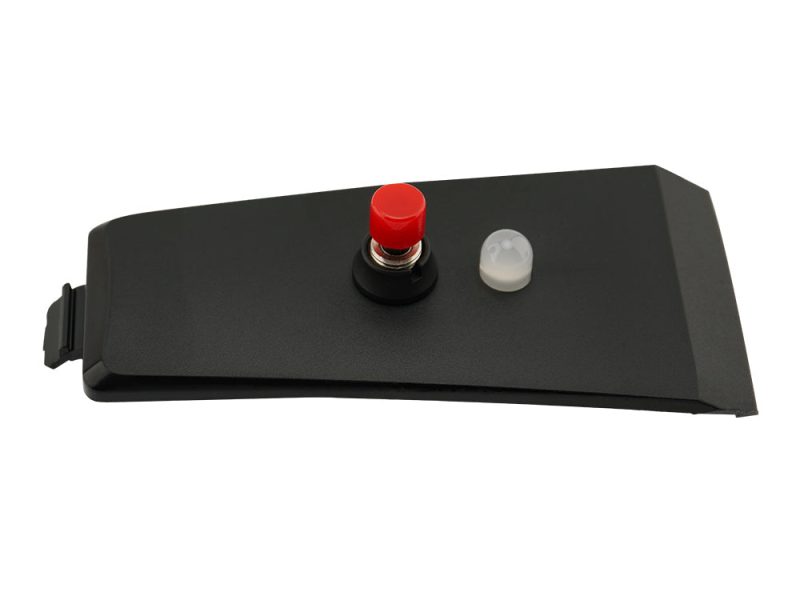
MT12 Gyro Control Module
Пульты FPVThe MT12 gyro enables control of two channels using hand gestures, allowing you to operate devices such as a pan/tilt gimbal, RC tank turret, rear wheel steering, and more. When…
Specifications
| SKU | HP0157.MT12-0047 |
|---|---|
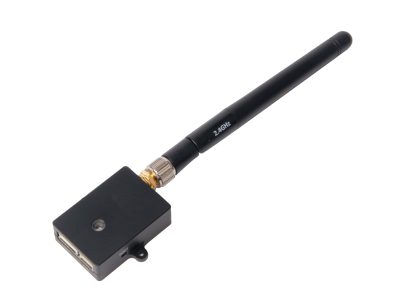
The MT12 gyro enables control of two channels using hand gestures, allowing you to operate devices such as a pan/tilt gimbal, RC tank turret, rear wheel steering, and more. When installed in the MT12 expansion slot, this two-axis gyro integrates your hand movements into the control stream through the advanced mixing and programmability of EdgeTX. The only limit is your imagination! Specifications Power Supply: DC 3.3V Weight: 8.3g Dimensions: 65.0*33.0 mm X-axis Angle Range: 90° [-45° to 45°] Y-axis Angle Range: 90° [-45° to 45°] Installation Remove the battery from the bottom of the MT12 Remove the top cover from the MT12 by pushing away from the grip Install the Gyro module at the top of the radio base Plug the cable into the 5pin connector in the battery compartment How to use Settings related to MT12 Radio 1. Press the “SYS” button and use the “PAGE” button to navigate to the “HARDWARE” menu. Set “S3” and “S4” under “Pots” to “Axis X” and “Axis Y”, respectively, as shown in the diagram below: *Arrows behind Axis X and Axis Y represent the direction settings. After selecting with the scroll wheel, you can press the scroll wheel to modify the direction. 2. Calibration in MT12. Press the “SYS” button and use the “PAGE” button to navigate to the “HARDWARE” menu. Enter the “[Calibration]” menu to calibrate. The calibration method is the same as the process for calibrating other inputs on MT12. At the “SET AXIS MIDPOINT” step, place the MT12 on a table and keep it level, then press the scroll wheel to calibrate the neutral point. At the “MOVE AXIS/POTS” step, in addition to calibrating the maximum values of the existing directions and throttle, you also need to pick up the MT12 and move it back and forth and side to side, with angles greater than 45 degrees. 3. Input menu settings. Press the “MDL” button, then use the “PAGE” button to navigate to the “INPUT” menu. You must bind the gyro output to two input channels in this menu. For example, bind Axis X (S3) to “I09” and Axis Y (S4) to “I10”. For “I09” as an example, enter the “Edit” menu of input channel 09. Select “Source” and press the scroll wheel, which will cause it to blink. At this point, tilt MT12 left and right, and the system will automatically switch the input source to “Source S3”, as shown in the diagram below: 4. Mixer menu settings. Press the “MDL” button, then use the “PAGE” button to navigate to the “MIXER” menu. In this menu, you need to bind the gyro inputs to the actual receiver output channels. For example, use left-right tilting (Axis X) to control channel 3, and use forward-backward tilting (Axis Y) to control channel 4. For channel 3 as an example, enter the “Edit” menu for channel 3. Select “Source” and press the scroll wheel, which will cause it to blink. At this point, tilt MT12 left and right, and the system will automatically switch the input source to “I09”, as shown in the diagram below: Gyro Sensor Calibration To accommodate different users’ holding gestures, you can calibrate the sensor’s neutral point by pressing and holding the red button for 2 seconds. During calibration, the red light will flash. A steady green light indicates normal operation. Associated Products MT12 Surface Radio Expansion Modules for MT12 Surface Radio MT12 Accessories Package Includes 1 * MT12 Gyro Control Module 1 * 5pin JST cable(installed on Module)
Frequently Asked Questions
Есть ли этот товар в наличии?
Да — товар отправляется со склада в Шэньчжэне в течение 1–3 рабочих дней. Уровень запасов регулярно обновляется; для получения актуальной информации о наличии и сроках поставки крупных партий свяжитесь с нашим отделом продаж.
Поддерживаете ли вы OEM/ODM и индивидуальный брендинг?
Да. Как завод-поставщик мы принимаем OEM/ODM-заказы, включая индивидуальный брендинг, упаковку и настройку прошивки/параметров. Сообщите о ваших требованиях нашему отделу продаж, чтобы получить индивидуальное предложение.
Как осуществляется доставка и каковы сроки?
Мы доставляем по всему миру через DHL, FedEx, UPS или авиа/морским транспортом. Небольшие посылки обычно приходят за 5–10 рабочих дней; оптовые заказы могут отправляться морем. После отправки посылки со склада предоставляется трекинг.
Предоставляете ли вы оптовые цены и какой минимальный заказ (MOQ)?
Да, как завод-поставщик мы предлагаем оптовые цены на этот товар. Минимальный объём заказа зависит от позиции и конфигурации — отправьте ваше количество и пункт назначения нашему отделу продаж, и мы ответим точным предложением.
Предоставляете ли вы гарантию и послепродажное обслуживание?
Да, мы обеспечиваем техническую поддержку и послепродажное обслуживание нашей продукции. По условиям гарантии на этот товар свяжитесь с нашей командой — мы подтвердим срок гарантии и процесс ремонта/замены.
Можете ли вы подтвердить совместимость перед заказом?
Да. Перед отправкой мы можем подтвердить, что товар совместим с вашим пультом, полётным контроллером, очками, рамой или другим оборудованием. Пришлите список вашей сборки, и наши инженеры проверят совместимость до размещения заказа.
Related Products
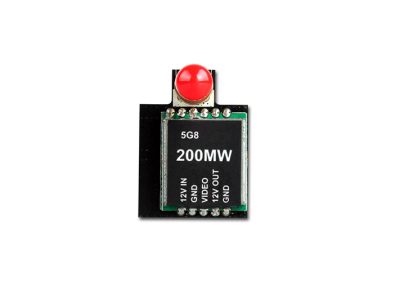
20-200MW FPV transmitter 5.8GHz 32CH Wireless AV Transmitter Module
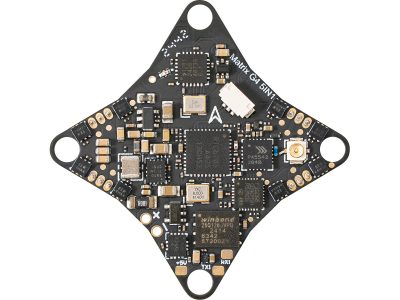
Matrix 1S Brushless Flight Controller (5IN1)
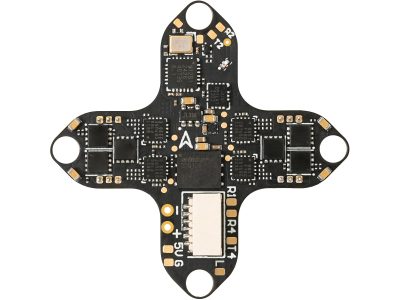
Matrix 1S Brushless Flight Controller (3IN1/4IN1)
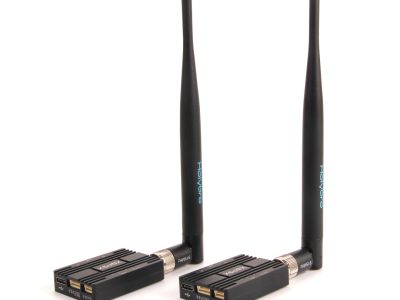
XBP9X Telemetry Radio
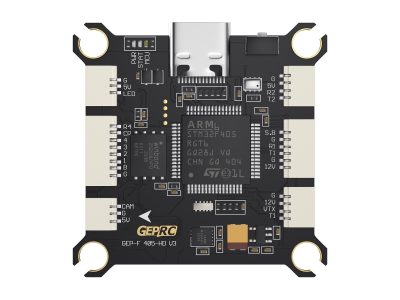
GEP-F405-HD V3 Flight Controller
LiteRadio 2 SIM Controller
★EMAX Skyline32 Mini Flight Controller (Advanced V1.1)
LiteRadio 4 Radio Transmitter
★EMAX Skyline32 Flight Controller (Acro V1.2)
Remote ID